How-To Guide: Setting Up and Using the Bitkey Hardware Wallet
Many people are apprehensive to take control of their bitcoin by sending it off of an exchange because they are afraid of setting up their own wallet and backing up their own keys. Taking custody of your bitcoin is a journey that requires practice and gradual steps. Luckily, the team at Block has released a consumer-friendly hardware device that is a great first step for people to take custody of their bitcoin and eliminate the third-party risk associated with holding your bitcoin on an exchange. If you are someone who hasn't taken the first steps to take custody of your bitcoin or you have family and friends who haven't started their journey, Bitkey is for you.
Here is a comprehensive guide on using the Bitkey hardware wallet, which is designed for individuals looking to take their first steps into bitcoin self-custody. This guide will walk you through the process of setting up and operating the Bitkey hardware wallet, ensuring you have full control over your bitcoin with ease. We'll cover everything from initial setup to recovery options, providing detailed instructions every step of the way.
Introduction
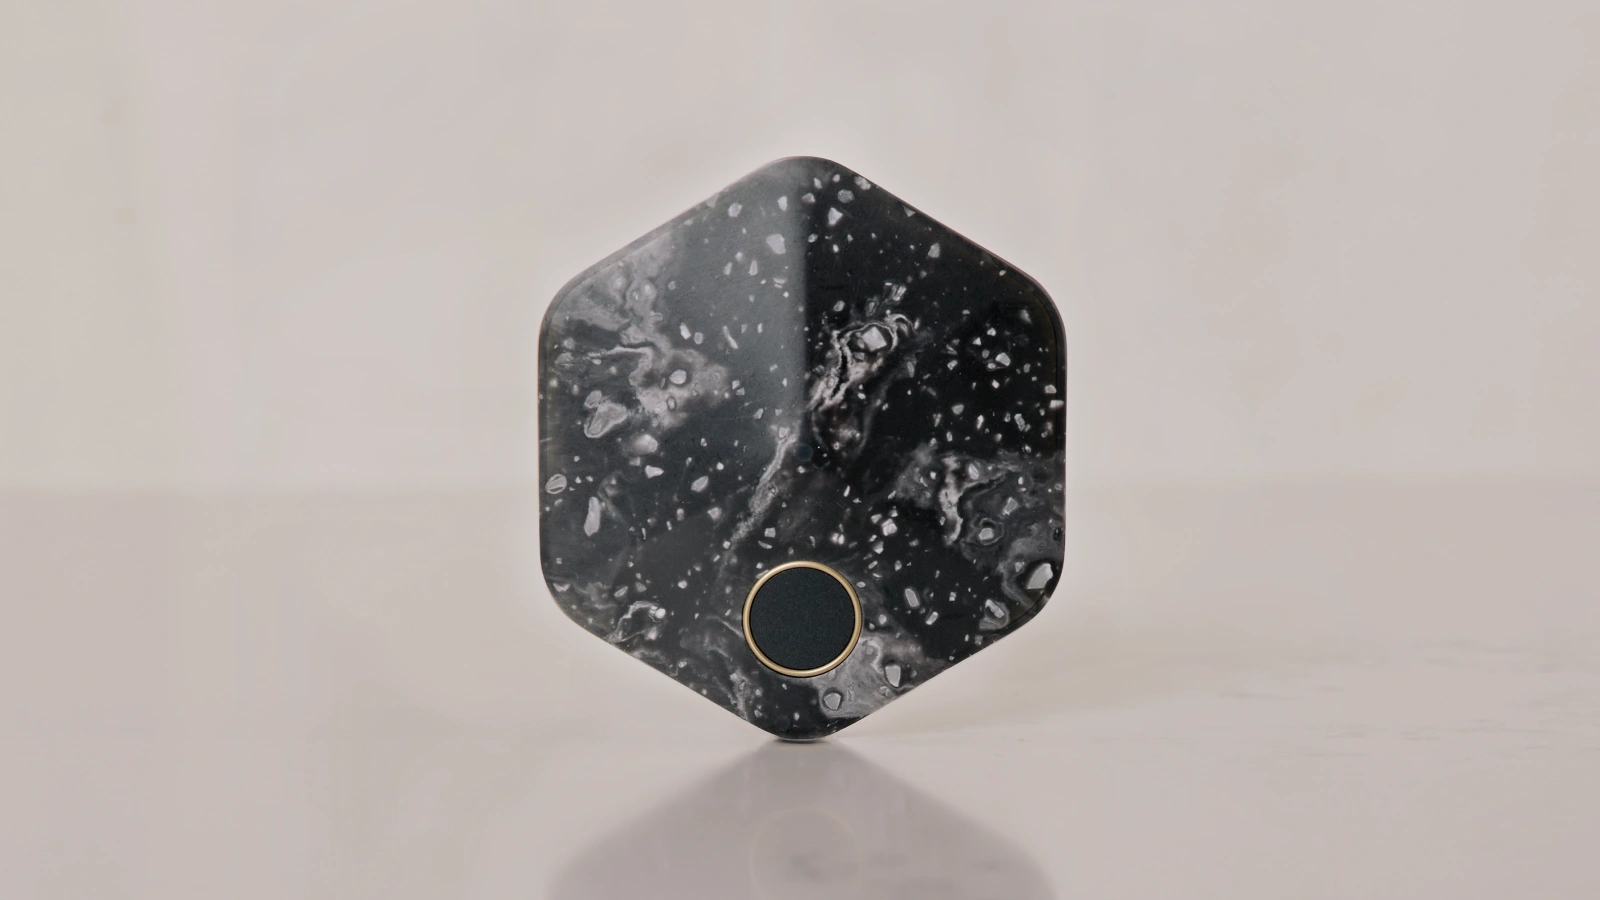
The Bitkey hardware wallet is a user-friendly, secure solution for storing bitcoin, especially appealing to beginners or those less tech-savvy. Created by the proto-team at Block, Inc., Bitkey is a 2-of-3 multisig wallet, meaning you need two out of three keys to authorize transactions. This guide will provide clear, step-by-step instructions on how to use Bitkey, including setup, receiving and sending bitcoin, as well as recovery options.
Use the code "TFTC20" at checkout and receive 20% off your Bitkey
Sections:
Getting Started with Bitkey
Receiving Bitcoin
Sending Bitcoin
Setting Up Recovery Options
1. Getting Started with Bitkey
Step 1: Purchase Your Bitkey
Buy a Bitkey: You'll need to purchase a Bitkey hardware wallet. Ensure you buy it directly from the official website.
Step 2: Download the Bitkey App
Install the App: On your smartphone, go to your app store, search for the Bitkey app, and install it.
Open the App: Launch the Bitkey app and follow the on-screen prompts. The app will guide you through the initial setup process.
Pair with Hardware Wallet: At certain points during the setup, you'll be asked to authenticate with your fingerprint on the Bitkey device and hold it near your phone to establish a connection via NFC.
Step 4: Familiarize Yourself with the Interface
Explore the App: Once setup is complete, take a moment to navigate through the app's interface. Familiarize yourself with the send, receive, and add options, as well as the settings where you can adjust preferences like currency and view your cloud backup status.
2. Receiving Bitcoin
Step 1: Generate a Receive Address
Initiate Receive: In the Bitkey app, select the 'Receive' option.
Copy Address: Your bitcoin address will be displayed. Copy this address to your clipboard.
Step 2: Transfer Bitcoin to Your Bitkey
Using an Exchange: Go to your bitcoin exchange or wallet service (e.g., Strike, River, or Coinbase) where you own bitcoin.
Send Bitcoin: Navigate to the send or withdraw option, paste your Bitkey receive address, enter the amount you wish to transfer, and confirm the transaction.
Step 3: Verify Transaction
Check Bitkey App: Return to the Bitkey app and wait for your bitcoin to appear in your wallet. This may take some time depending on the network.
3. Sending Bitcoin
Step 1: Enter Send Interface
Navigate to Send: In the Bitkey app, select the 'Send' option.
Step 2: Input Details
Recipient's Address: Paste the bitcoin address of the recipient where you wish to send bitcoin.
Amount: Enter the amount of bitcoin (in satoshis or BTC) you want to send.
Step 3: Authorize the Transaction
Mobile Key: The app will prompt you to sign the transaction with your mobile key.
Hardware Wallet: Next, authenticate on the Bitkey hardware wallet with your fingerprint and hold it against your phone to sign with the second key.
Confirm Send: Review the transaction details, and if everything is correct, confirm and send the bitcoin.
4. Setting Up Recovery Options
Step 1: Add Trusted Contacts
Trusted Contacts: In the settings of the Bitkey app, add trusted contacts such as friends or family members who can aid in the recovery process.
Step 2: Understand Recovery Methods
Study Recovery Options: Review the links provided in the Bitkey app regarding recovery methods in case you lose your phone or hardware device.
Conclusion
The Bitkey hardware wallet is a beginner-friendly device that provides a secure and easy way to store and manage bitcoin. By following this guide, you should be able to set up your Bitkey, send and receive bitcoin, and establish recovery methods confidently. While Bitkey offers convenience and security for newcomers, it's essential to weigh its advantages against its limitations when considering your long-term bitcoin custody strategy.
Remember that self-custody is a journey, and as you become more familiar with bitcoin, you may choose to explore more advanced and self-sovereign solutions. If you found this guide valuable and you think others will too, please share it with family members and friends who have yet to take the first steps to secure their bitcoin properly.